Optical Precision Measuring Machine
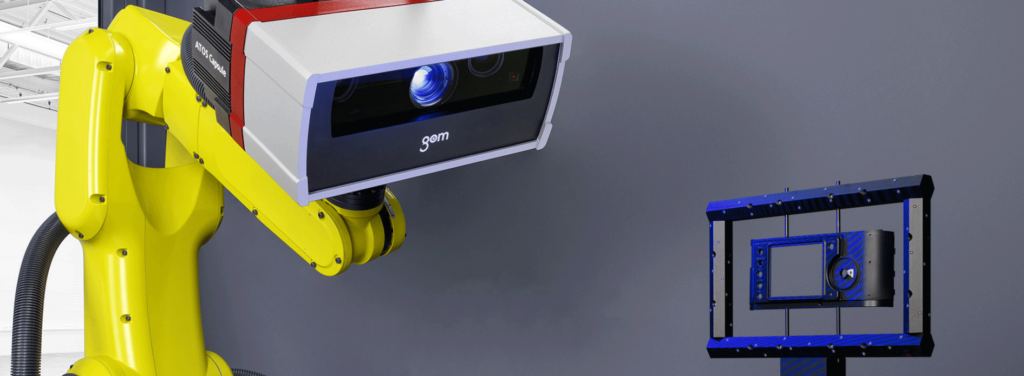
The ATOS Capsule is an optical precision measuring machine (OPMM) for full-field digitization of contoured part geometries. The fringe projection system of the ATOS series is used for production quality assurance of small to medium-sized parts and excels by its high precision for fine details. ATOS Capsule is utilized, for example, for first article inspection of gears, turbine blades and wheels as well as medical parts.
ATOS Capsule in Use
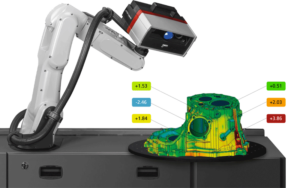
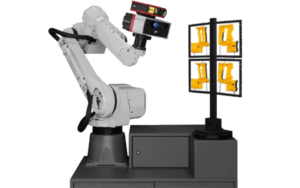
In the standardized measuring machine ATOS ScanBox, ATOS Capsule is used for fully automated measurement and inspection of contoured parts. Used in ATOS ScanBox Series 4, the ATOS Capsule serves as a mobile and therefore flexible measuring system for small parts. In the ATOS ScanBox models of series 5 and 6, the ATOS Capsule can be extended with a Plus Box photogrammetry add-on. Thus, bigger components or several parts can be measured simultaneously.

ATOS Capsule Technology
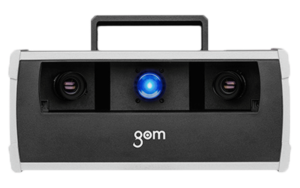
Due to its housing design, the ATOS Capsule provides process stability for automated applications. Made of aluminum investment casting, the precisely manufactured unibody housing ensures maximum stiffness and precise measuring results for industrial use. Optics and electronics are protected against dust and splashing water.
Triple Scan Technology
Together with both cameras, the projection unit operates according to the Triple Scan Principle. During the measurement, precise fringe patterns are projected onto the surface of the object and are recorded by two cameras, based on the stereo camera principle. This automatic principle offers advantages in measuring reflective surfaces or objects with complex indentations.
Blue Light Technology
The projection unit of the ATOS Capsule system is based on Blue Light Technology. Since the sensor works with narrow-band blue light, interfering ambient light can be filtered during image acquisition. Due to its powerful light source, short measuring times can be achieved.
Self-Monitoring System
The sensor recognizes changing ambient conditions during operation and is able to compensate these changes. To do so, the software of the sensor is continuously monitoring the calibration status, the transformation accuracy, environmental changes and part movements to ensure the quality of the measuring data.


