Lorem ipsum dolor sit amet, consectetur adipiscing elit, sed do eiusmod tempor incididunt ut labore et dolore magna aliqua. Ut enim ad minim veniam, quis nostrud exercitation ullamco laboris nisi ut aliquip ex ea commodo consequat.
นวัตกรรม 3D Prints SLS โดยหลักการทำงานของ Sintratec Kit
ATOS 5X
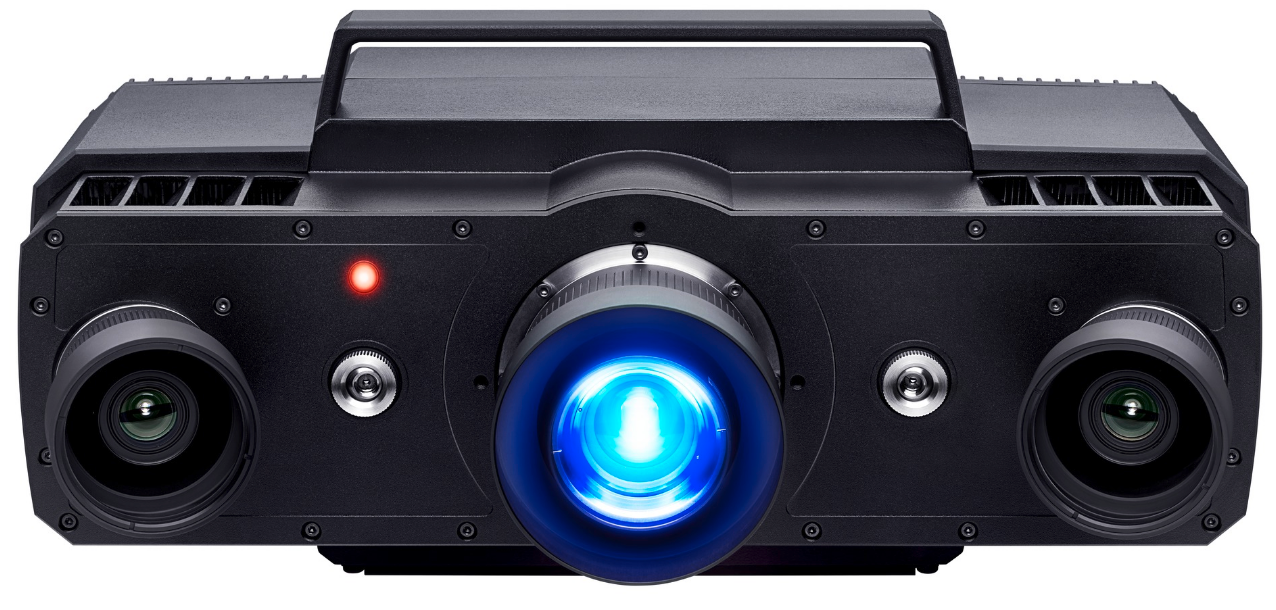
ATOS 5X uses the integrated Laser Light Compressor to generate ultra-bright light. This allows for measuring areas of up to 1000 mm and at the same time extremely short exposure times. Acquisition times of 0.2 seconds are reached. >>>>
ATOS 5
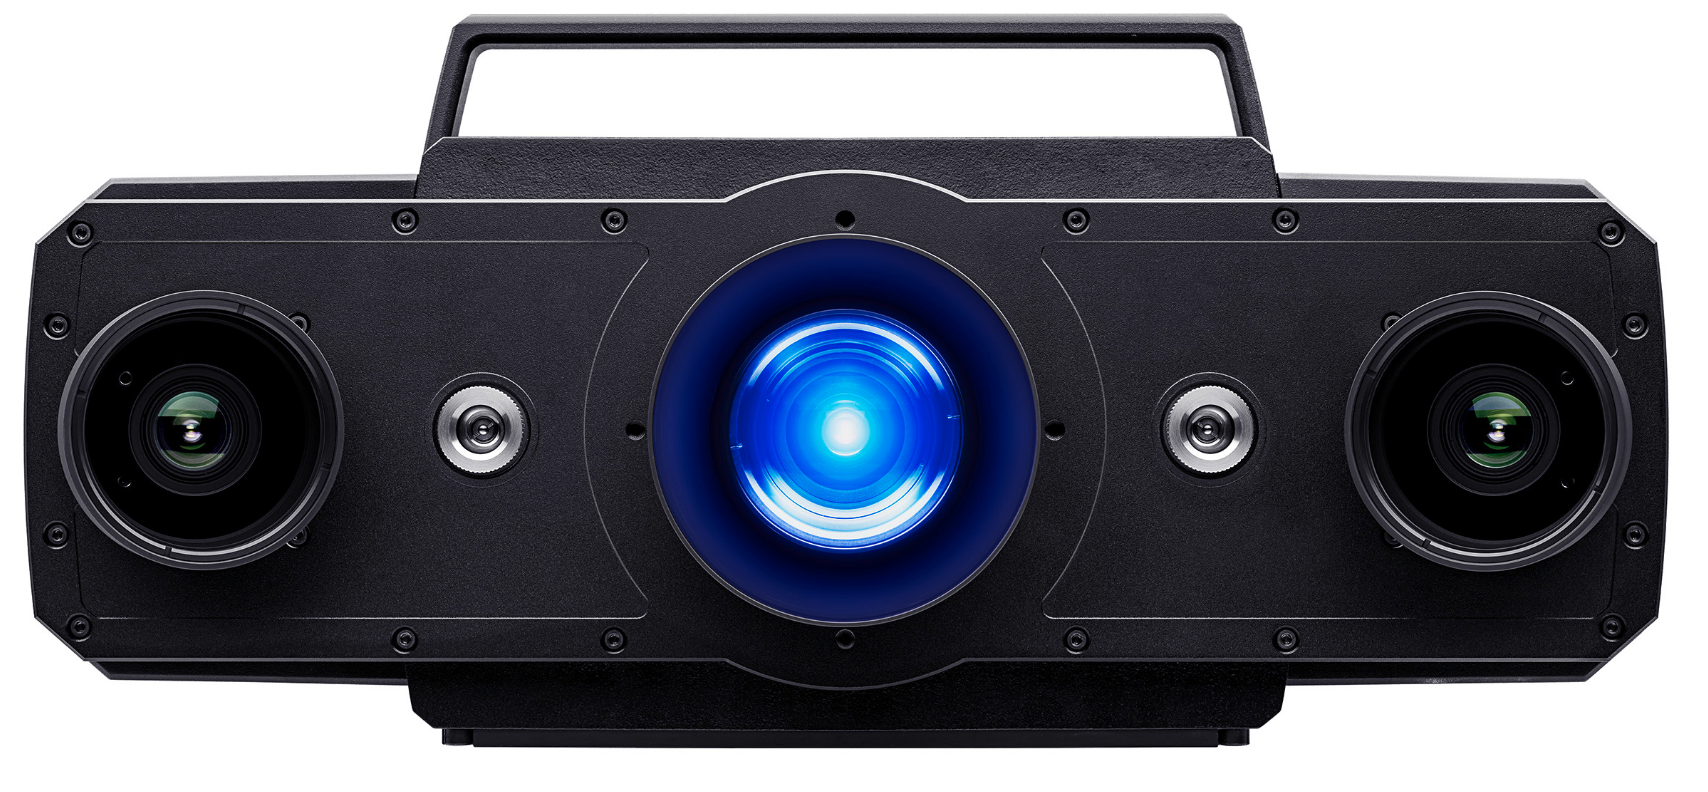
Developed for industrial use, ATOS 5 delivers high-precision data in a short measuring time even under harsh conditions. The full-field 3D measuring data allows comprehensive process and quality control, visualizing hidden errors and thus speeding up production processes.>>>>
GOM CT
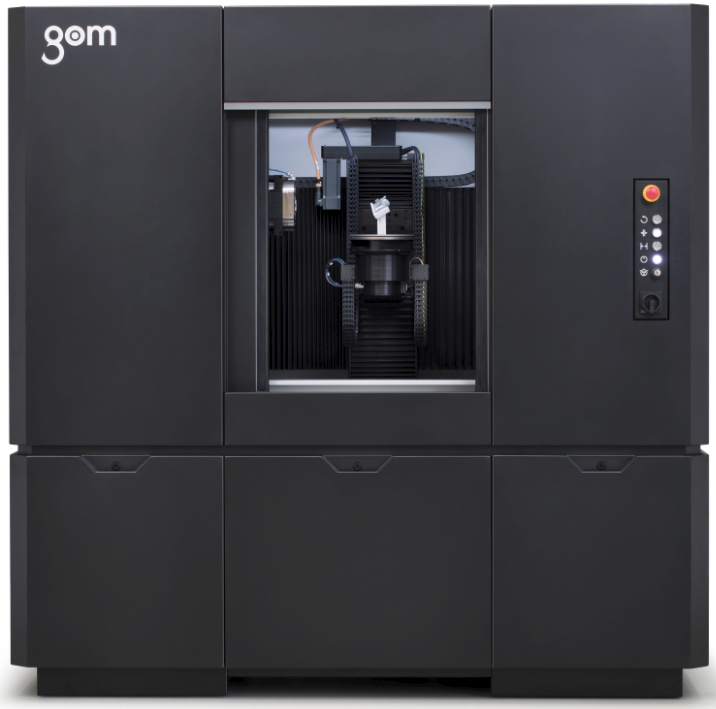
The GOM CT enables the inspection of complex parts based on volumes. All surfaces – even internal structures – can, for example, be used for shape and dimension analyses or nominal-actual comparisons.>>>>
Expert Course Scanning with Robogrammetry in the ATOS ScanBox Series 8
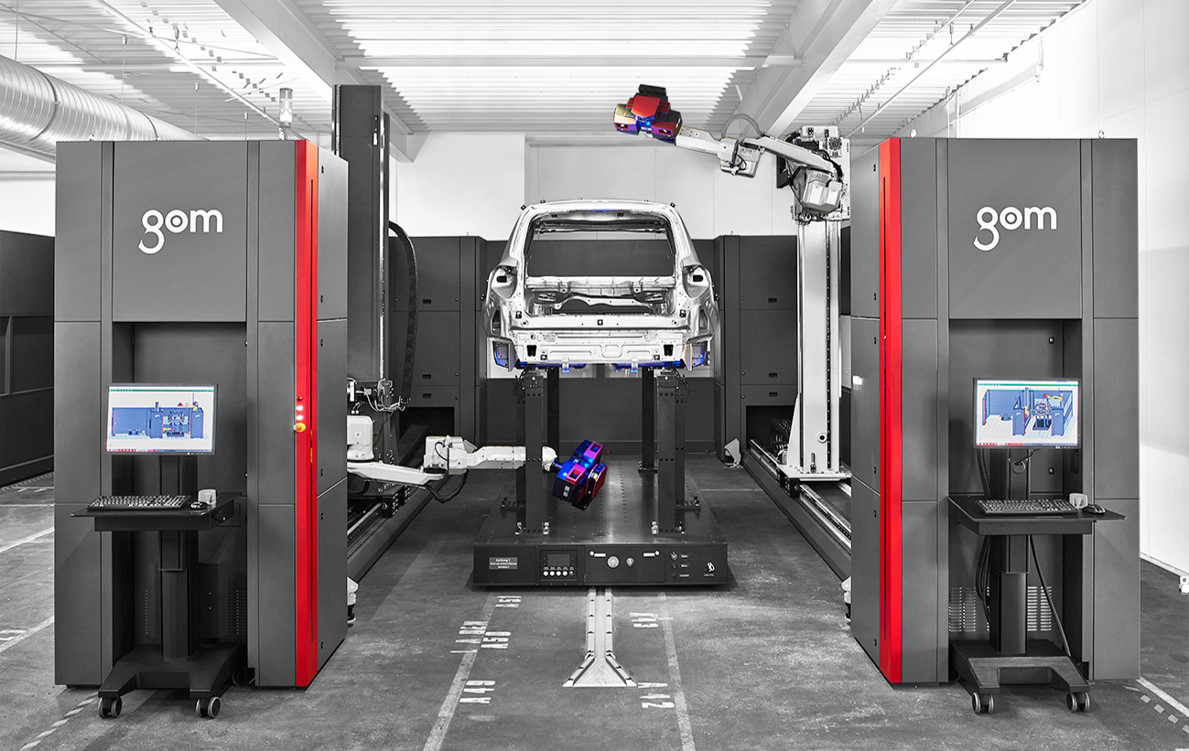
05/2018 The range of GOM expert courses has been extended by the course “Scanning with Robogrammetry in the ATOS ScanBox Series 8”. This training course is especially designed for users of ATOS ScanBox Series 8 and deals with a typical measuring procedure by the example of a car body. Dates are available on request. >>>>
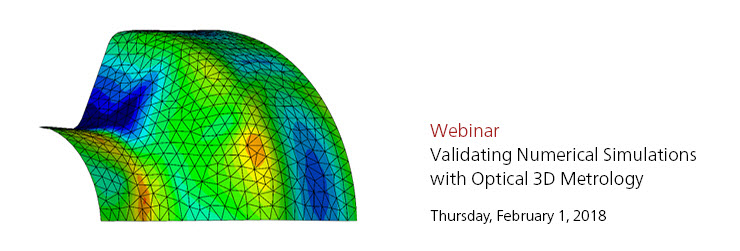
Webinar – Validating Numerical Simulations with Optical 3D Metrology
3D Metrology in Casting and Foundry Processes
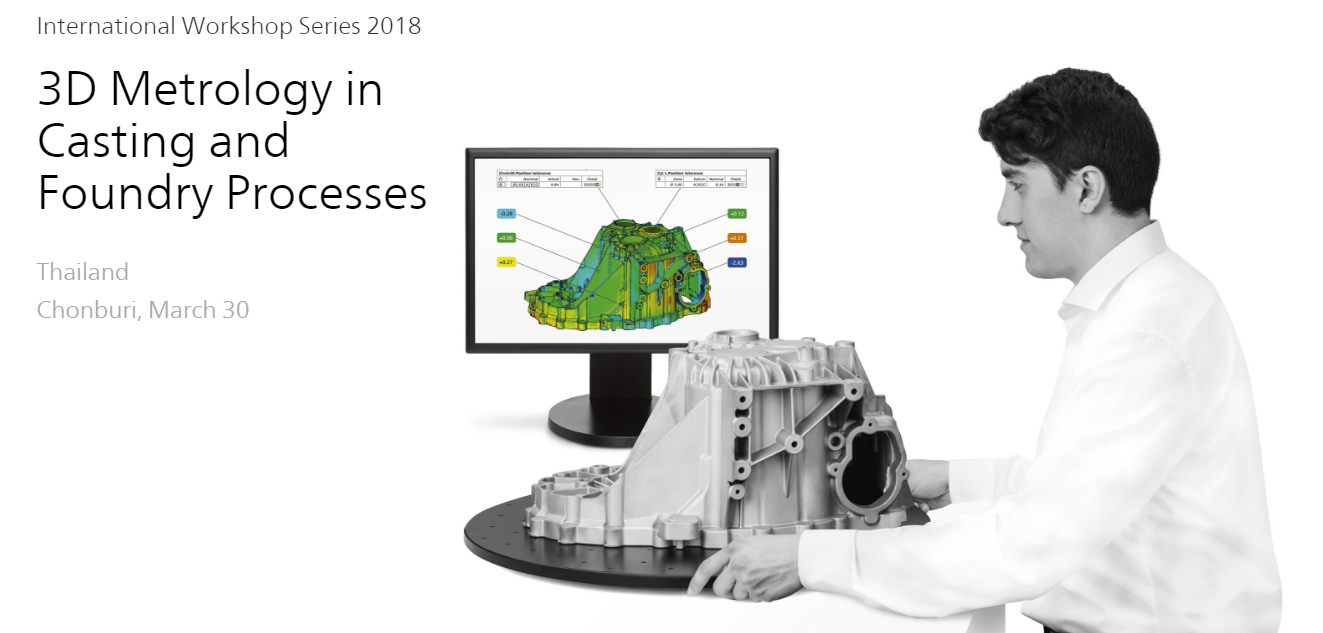
Measuring systems from GOM are used in sand, pressure die and investment casting processes to guarantee consistent quality assurance: from simulation verification, via accelerating tool try-out and first article inspection, up to production control and CNC machining.>>>>
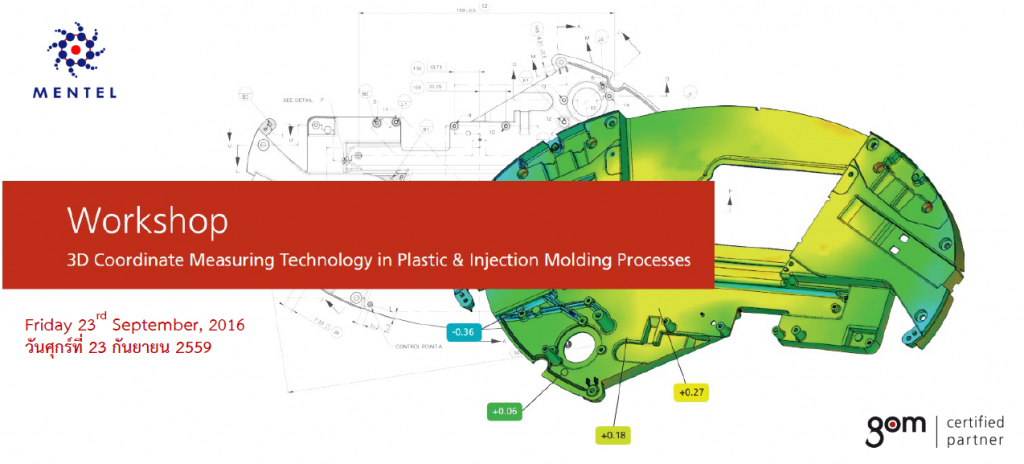
3D Coordinate Measuring Technology in Plastic & Injection Molding Processes
The GOM workshop is an industrial meeting platform for design engineers, tool and mold makers as well as specialists from quality assurance and production. The free workshop offers an insight into how optical 3D metrology is integrated into modern injection molding process chains. Leading industrial companies present examples from their day-to-day practice to show how optical measuring systems support them in shortening development times, optimizing production processes and thus improving the company’s profitability.>>>>
3D Metrology in Sheet Metal Forming Process Chains
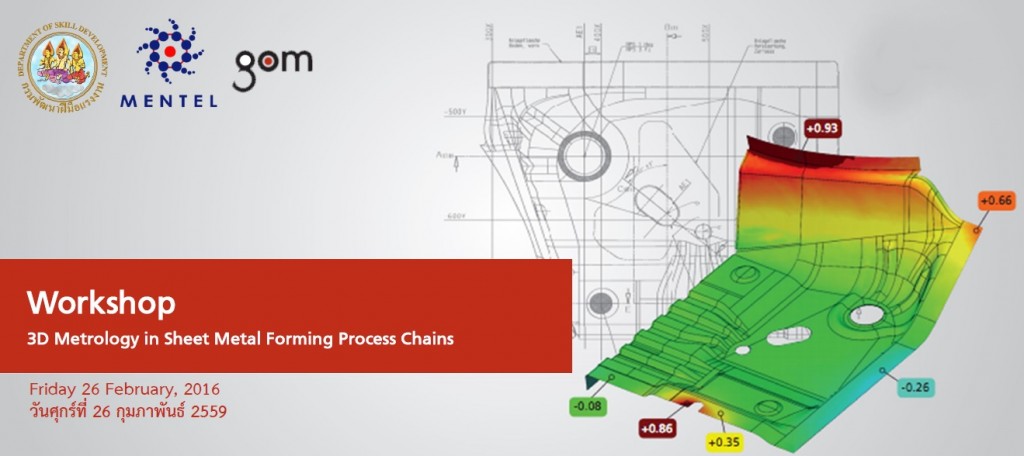
Measuring systems from GOM are used in stamping, bending, drawing, pressing, and forming process chains to guarantee consistent quality assurance: from determining the sheet metal properties, via accelerating tool-try-out and first article inspection, up to series accompanying production control and trend analysis. >>>>
Volkswagen Commercial Vehicles: Automated Production Quality Control with GOM Metrology
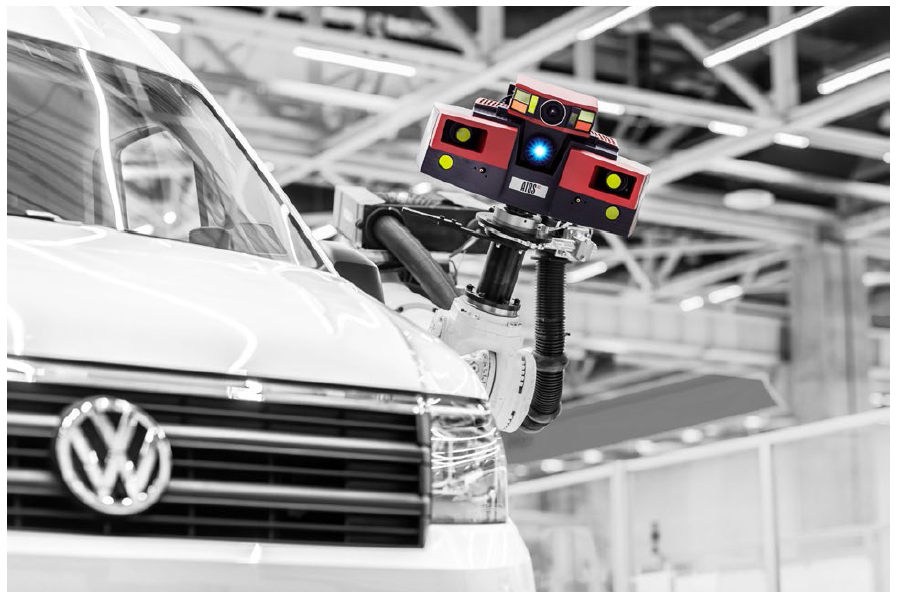 More than 20 automated and manual GOM systems are in use at the new Volkswagen plant in Września. Production quality for the VW Crafter is ensured using ground-breaking measuring technology in an optical measuring room on 5,400 m².>>>>
GOM Correlate
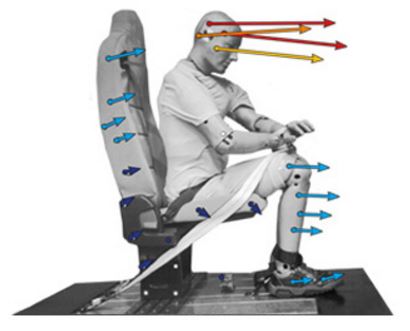
01/2016GOM Correlate is the evaluation software for 3D testing supporting both digital image correlation (DIC) as well as 3D motion analysis. The software allows the analysis of displacement and strain and delivers detailed reports with diagrams and videos. >>>>
ATOS Core

In view of the growing complexity of shapes and functions, the scanning, analysis andinspection tasks for small parts are fast gaining importance. Therefore, GOM has developed the ATOS Core which is optimized for the3D measurement of small to medium-sized components such as ceramic cores,cast and plastic parts. The 3D scanner is used in development, quality assurance and production to reduce time and costs. >>>>
ATOS ScanBox
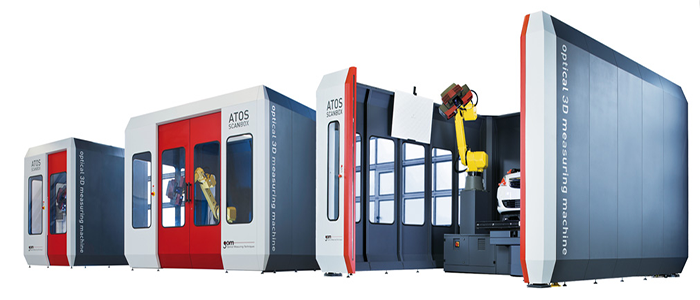
The ATOS ScanBox is a plug-and-play measuring cell for fully automated 3D digitizing and inspection. The ATOS ScanBox combines optimized industrial components, mobility and highest safety in an off-the-shelf 3D measuring machine. >>>>
ATOS Professional

ATOS Professional is a process-safe software solution that controls the ATOS 3D digitizer and produces precise 3D surface data. The powerful
software and the ATOS 3D digitizer are designed to work seamlessly and 3D data is available directly after fringe projection. Single scans are automatically combined using a process-safe workflow based on a combination of reference points and surface matching. >>>>
